Article summary: Embroidery turns artwork into physical stitches. Finished size, stitch construction, fabric movement and thread colour can alter the result. Review a sew-out on the intended fabric, describe differences precisely and lock an approved garment reference before bulk production.
Jump to:
- Artwork Is Not Yet a Production Stitch File
- Small Details Need an Actual-Size Sew-Out
- The Fabric and Support Change the Result
- Approve Physical Thread Colour
- Describe the Difference Before Requesting a Revision
- Lock a Reference the Production Team Can Use
- FAQ
- References and Further Reading
Artwork Is Not Yet a Production Stitch File
Embroidery digitizing translates a graphic into a stitch plan. The digitiser chooses stitch types, direction, spacing, underlay and sequence. Machine embroidery then builds a physical surface, so a screen preview cannot establish how the garment will look and feel.
A satin stitch may suit some narrow shapes; a broad filled area or small letter can require a different approach. Embroidery designs should be assessed at the intended physical size. A high-resolution image improves the reference but does not guarantee a production-ready file.
Wilcom’s pull-compensation guidance explains how stitches pull fabric inward and how compensation adjusts the geometry. Supporting stitches and backing also help control distortion. Judge intentional file adjustments by the finished result rather than expecting every stitch boundary to match the artwork outline.
Small Details Need an Actual-Size Sew-Out
Tiny gaps, narrow outlines and small lettering can lose definition in thread. Compare embroidery fonts, spacing and stitch construction using a sew-out at the size customers will receive. Wilcom’s lettering guidance treats density, underlay and compensation as fabric-specific decisions.
If a detail disappears, compare a larger motif, more open spacing, an approved simplification or another decoration method. Preserve the brand elements that matter, such as letter proportions or a distinctive opening. Agree adaptations with the designer before approval.
An enlarged trial does not approve a smaller version. More stitches do not automatically improve clarity; they may increase stiffness and handling problems. Ask the specialist to explain the proposed change and show a trial.
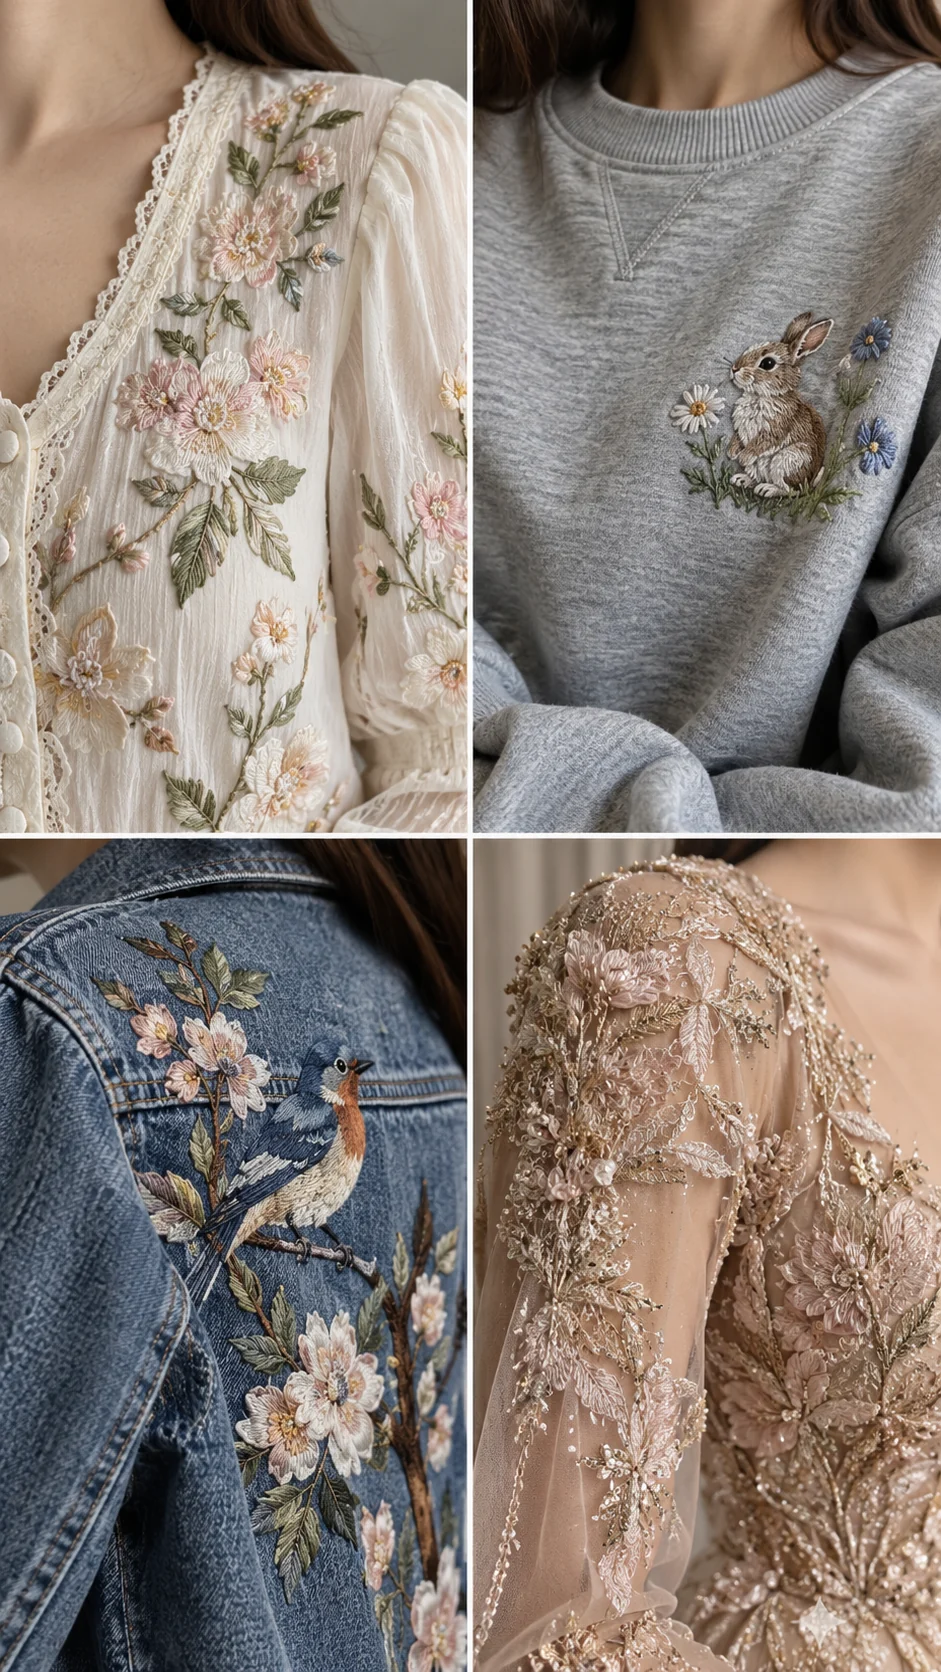
The Fabric and Support Change the Result
A sew-out on stable test cloth does not automatically approve embroidered clothing in a stretchy knit or lightweight woven fabric. Request the intended material, dimensions and support. Label substitute-fabric trials as interim evidence.
Embroidery backing and an embroidery stabilizer must suit the fabric, design and intended finish. Review the reverse side for comfort as well as the front for appearance. Decoration can change fabric drape; assess it on the garment rather than only on a flat swatch.
Madeira’s puckering guide identifies multiple possible causes, including material, thread tension, needle, stitch density, backing and hooping. These are investigation areas, not a diagnosis from a photograph. Test adjustments and check the result after removing the sample from the hoop.
Garment construction also affects access and placement. Confirm whether embroidery happens before or after assembly and whether seams, lining or finishing treatments affect the proposed route.
Approve Physical Thread Colour
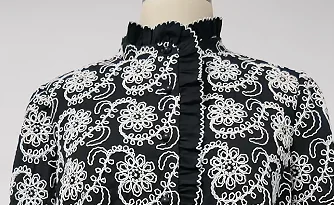
A screen emits light; embroidery thread reflects it from a textured surface. Record the thread brand, range and colour code, plus the desired sheen. Use a physical shade card and review the stitched result against the intended garment colour.
Madeira’s colour-card guidance recommends original thread references for colour sampling. A photograph can support discussion but should not silently replace a physical approval reference.
Agree viewing conditions and the relevant care checks. Color fastness concerns changes or transfer under specified conditions; a visually pleasing new sew-out does not prove its performance after care.
Describe the Difference Before Requesting a Revision
| Observation | Investigate | Useful request |
|---|---|---|
| Letters look heavy | Finished size, spacing, font and stitch setup. | Preserve the approved width but restore the marked openings; propose a trial. |
| Outline misses the fill | Sequence, compensation, support and material movement. | Correct the marked gap and submit another sew-out. |
| Fabric ripples | Material compatibility, digitizing, tension and hooping. | Review the sample after hoop removal against the agreed flatness requirement. |
| Motif feels stiff | Coverage, stitch construction and backing. | Show a softer option and explain the appearance trade-off. |
| Placement looks wrong | Reference points and measurement method. | Confirm horizontal and vertical location from the agreed seam reference. |
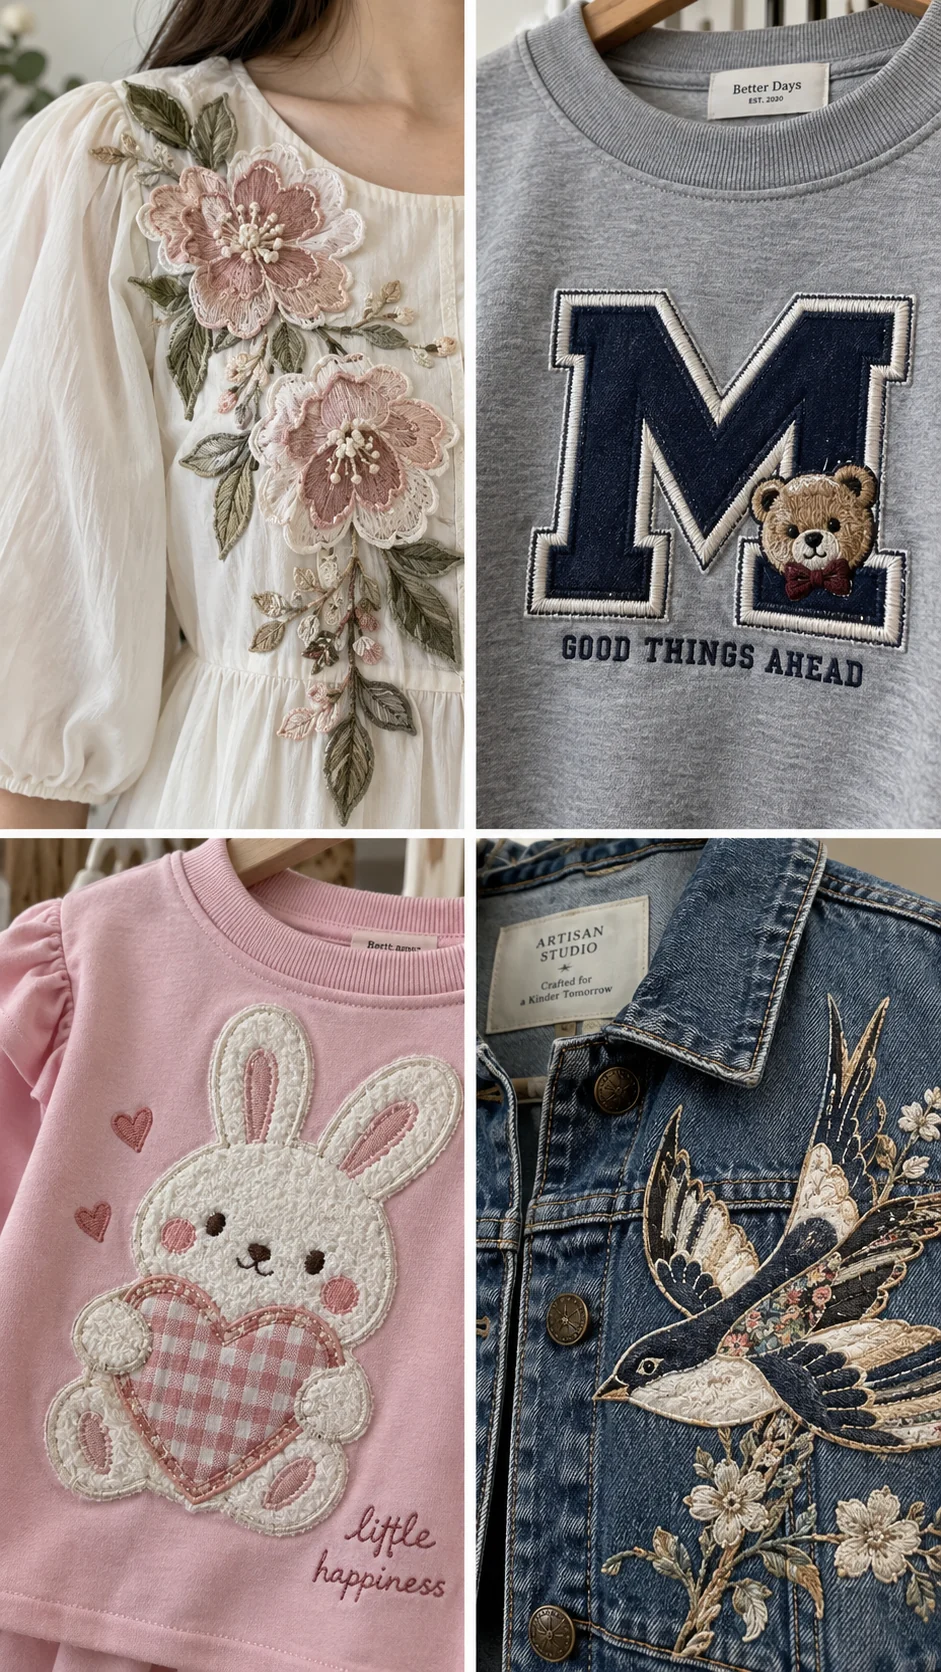
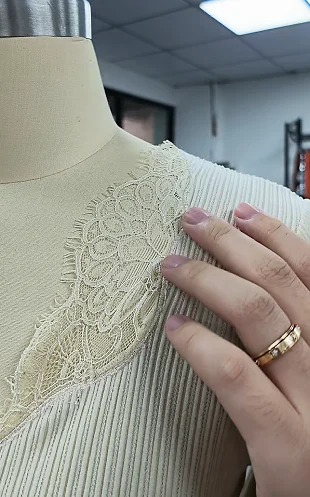
Separate thread texture from an unintended defect. Wrong spelling, a wrong thread code or a missing design element should not become acceptable simply because embroidery differs from print. Lace or an applied motif may be another decoration route, but it needs its own artwork, placement and construction approval.
Lock a Reference the Production Team Can Use
- Provide artwork, finished dimensions, placement and intended fabric.
- Review an actual-size sew-out, including spelling, orientation, detail and reverse-side comfort.
- Consolidate numbered comments; resolve competing instructions.
- Approve the motif on the garment and assess the agreed care route.
- Identify the approved artwork and stitch-file versions, thread, fabric, sample and inspection criteria.
Confirm whether any material substitution or resizing needs another trial. Ask Shengfu to review your artwork and garment together, outline sampling fees and explain project-specific capabilities before committing to production.
FAQ
How to digitize for embroidery when artwork has fine details?
Define the final size and fabric first. Ask the digitiser to select stitches, sequence, support and compensation, then review a physical sew-out. Identify details that need adaptation rather than relying on a software preview.
How to digitize a logo for embroidery without losing its identity?
Mark the brand elements that must remain, supply clear artwork and finished dimensions, and review lettering, gaps and proportions at actual size. Approve any simplification and keep the stitch-file version with the accepted sample.
How to embroider letters clearly on a garment?
Choose lettering and dimensions suited to the material and thread, use an appropriate stitch plan and support, then assess an actual-size trial. Ask for revised spacing or construction where openings disappear; there is no universal minimum that guarantees every font.
What is the best fabric for embroidery?
The best choice depends on the garment, design density, required drape and support. A stable material can make some designs easier to control, but trial the intended production fabric rather than approving an unrelated test cloth.
How to resize embroidery designs for another garment?
Ask the digitiser to review stitch construction, density, spacing and detail at the new size. Resizing the graphic alone does not establish an equivalent stitched result. Review another sew-out and update the approved file and dimensions.
References and Further Reading
Technical sources support the guidance above; they do not certify or endorse Shengfu or verify project-specific capabilities.
- Wilcom — Pull compensation
- Wilcom — Production-ready embroidery lettering
- Madeira — Avoiding embroidery puckering
- Madeira — Colour cards
- Intertek — Colorfastness testing
Related Shengfu guides:
- Why Embroidered Garments Take Longer to Develop — and How Fashion Brands Can Get Them Right
- Custom Print Dress: A Practical Guide From Artwork to Production
- What’s Screen Print? A Complete Guide for Custom Screen Print Logo Apparel
- Same Garment, Different Colour: Why Can the Cost Change?
- What Happens to a Rejected Clothing Sample?
- From Sketch to First Sample: A Reference Photo Is Only the Start
- From One Sample to 1,000 Garments: Consistency Is the Real Test
- A 100-Piece First Order: How Detailed Should Your Tech Pack Be?