Article summary: Minimal styling makes silhouette, balance and finish especially visible. Review the pattern with the intended fabric and wearer, separate fitting observations from assumed causes, and verify relevant sizes before production.
Jump to:
- A Plain Appearance Can Hide Development Work
- Check Balance as Well as Circumference
- Review Pattern and Fabric Together
- Separate Observations from Possible Causes
- Send a Revision Brief the Team Can Test
- Preserve the Intended Result Across Sizes
- FAQ
- References and Further Reading
A Plain Appearance Can Hide Development Work
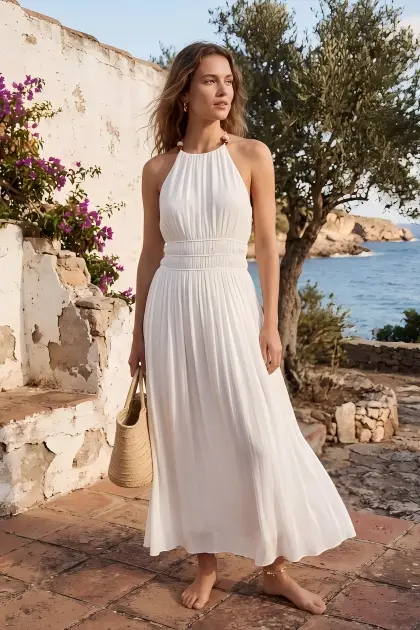
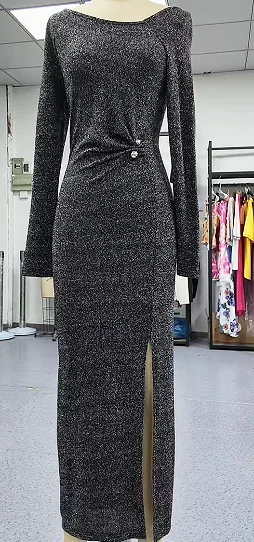
Pattern making has a visible role when a garment relies on a clean outline rather than decoration. Shoulder shape, waist placement, neckline depth and hem balance carry much of the design. A plain dress can still need darts, lining, facings or stabilisation.
Fewer visible details do not guarantee fewer sewing operations. Removing a shaping seam or internal support can change the result. Define the intended silhouette before simplifying the dress pattern or choosing seam finishes.
Compare front, side and back views in a natural stance. Avoid hidden clips or posing that masks the fit. Explain whether “relaxed” means a dropped shoulder, more body volume, a fluid line or movement ease; those are different pattern drafting decisions.
Check Balance as Well as Circumference
Body measurements and finished dress measurements provide important references, but matching a circumference does not establish balance. Review where side seams sit, whether the front or back rises and how the garment settles after movement.
Ease is the relationship between the body and the garment, interpreted with fabric behaviour and design intent. Extra room does not automatically improve movement if the armhole and sleeve relationship remains restrictive. A close fit is not automatically appropriate for every occasion.
For a minimal sleeveless dress, examine shoulder placement, armhole coverage and the line from bust to hem. For a relaxed top, assess reaching as well as standing. For trousers, sit and walk before assessing the waistband and rise. These are review prompts, not diagnoses.
Review Pattern and Fabric Together
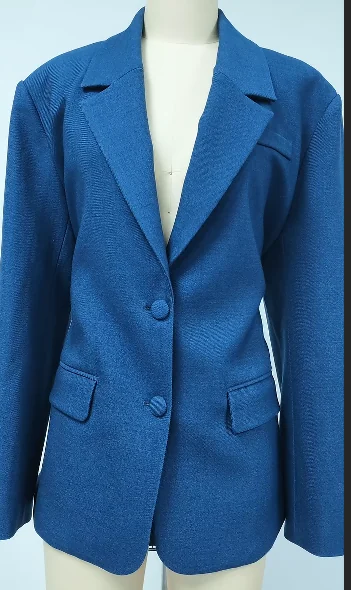
Fabric drape, weight, stretch, recovery and stiffness influence the result of sewing patterns. Replacing a structured material with a fluid one can change the silhouette without changing the measurement chart. Identify what must be retested when a substitute fabric is used.
Confirm grain direction and relevant material preparation before cutting. Review the intended finishing route when it can affect dimensions. Discuss the outer fabric, dress lining and support together so a change to one component does not silently alter the product.
If the sample needs more structure, removing width may create restriction without solving the material problem. Ask whether the proposed correction addresses the pattern, fabric or their interaction, then test it before applying it to all sizes.
Separate Observations from Possible Causes
| Observation | Areas to investigate | Record |
|---|---|---|
| Neckline gaps | Body relationship, shaping, edge stretching and support. | Where and when the gap appears, plus views and sample dimensions. |
| Seam puckers | Fabric, tension, feeding and seam construction. | The affected seam and conditions before or after finishing. |
| Garment twists | Balance, grain, fabric distortion and assembly. | Views before and after walking, and whether several pieces show it. |
| Hem looks uneven | Design intention, posture, balance and material settling. | Natural stance, relevant views and the agreed measuring method. |
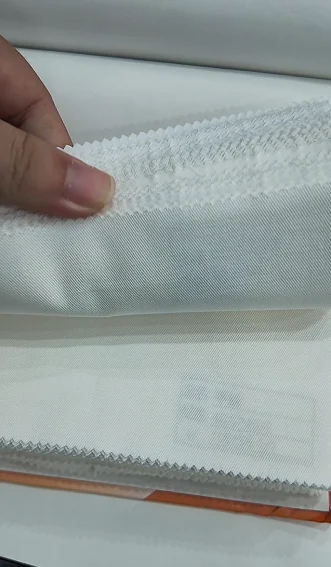
Coats identifies several causes of seam puckering, including fabric structure, tension and feeding. A wrinkle beside a seam therefore does not prove the pattern is wrong. Review the actual sample with the technical team and compare targeted trials.
Send a Revision Brief the Team Can Test
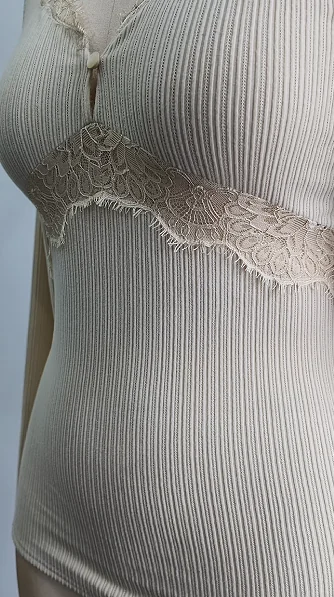
- Identify style, sample version, size, material and intended fit.
- Measure consistently using the agreed points, units and handling method.
- Capture front, side, back and relevant movement views.
- Describe restriction, shifting or unwanted exposure without guessing the cause.
- Mark each issue, state the required outcome and rank essential changes.
- Ask the pattern maker to explain the trial and connected consequences.
Use a record such as Techpacker’s fit template to connect measurements with comments. Keep the seam allowance, construction and sample-size instructions current. Recheck the correction under comparable conditions rather than approving only a new photograph.

Preserve the Intended Result Across Sizes
Pattern grading should follow the customer profile and the garment. Neckline depth, shoulder width, length and ease need a considered size plan; simply enlarging every visual feature proportionally is not a fit strategy.
Agree which sizes to sample and what they should reveal. Define measurement tolerances for the product and individual points rather than imposing one arbitrary limit everywhere. Carry the approved materials and garment construction into cutting and sewing instructions.
Send Shengfu the minimal design, fit references, fabric options, size range and movement needs. Request a pattern-and-sample proposal identifying revision scope, relevant size trials and costs. A plain appearance does not establish a one-round approval or a low production price.
FAQ
How to draft a dress pattern for a minimal silhouette?
Define the wearer, body reference, ease, fabric and intended outline before drafting. Develop shaping, balance and support together, then fit a physical trial. There is no universal pattern adjustment that guarantees every neckline or silhouette.
How to make a sewing pattern that production can repeat?
Identify the approved version, size, grain directions, seam allowances, notches and relevant construction instructions. Test it with the intended materials and record changes. Confirm the size plan and inspection reference before production.
How to fix a gaping neckline on a sample?
Document where the gap appears and during which movement. Ask the technical team to examine shaping, shoulder relationship, fabric and edge stability before selecting a correction. Test the revision; simply tightening the edge can create another fit problem.
How to measure bust for a pattern review?
Use the agreed body-measurement method and relevant bust landmark, keep the tape level and record units without forcing a smaller reading. Finished garment bust width is a separate measure; the pattern maker should define the ease relationship.
How to measure shoulder width for a minimal garment?
Confirm whether the brief asks for a body measure or a finished-garment point, and use the agreed landmarks. A dropped shoulder or tailored jacket needs its own design interpretation. Record the method so each sample uses the same reference.
References and Further Reading
Technical sources supporting the general guidance:
- Coats — Eliminating seam puckering
- Techpacker — Fit template
- Techpacker — What Is a Tech Pack?
- Techpacker — Pre-production processes
Related Shengfu guides:
- “Make It Better” Is Not a Clothing Sample Revision Brief
- How Many Pieces of Fabric Make Up a Dress?
- French Seams, Bound Seams or Overlock? Spend Where It Matters
- How Does Flat Fabric Become Three-Dimensional Pleats?
- Does the Same Dress Need a Different Fit in Another Country?
- A Million Views Does Not Make a Dress Ready for Production
- From Sketch to First Sample: A Reference Photo Is Only the Start
- A 100-Piece First Order: How Detailed Should Your Tech Pack Be?